Cherry Crisp

Cherry Crisp

Monday, June 3, 2013

Homemade Acne Face Cream

This is adapted from my hand lotion recipe but using ingredients to help combat the dreaded acne problem. I will wash my face at bedtime using water and a Norwex makeup removal cloth. No soap needed. I will then massage my face cream into my face and neck area. This leaves my skin so soft and does seem to help the breakouts as long as I stay away from my other nemesis - sugar!

4 Tablespoons raw organic shea butter
1 1/4 Tablespoons organic coconut oil (also has some antibacterial, antifungal and antimicrobial properties)
5 drops geranium essential oil - good for soothing inflammation and scar healing
14 drops tea tree oil - good for combating the acne infection and cleansing
5 drops lavender - good for the inflammation

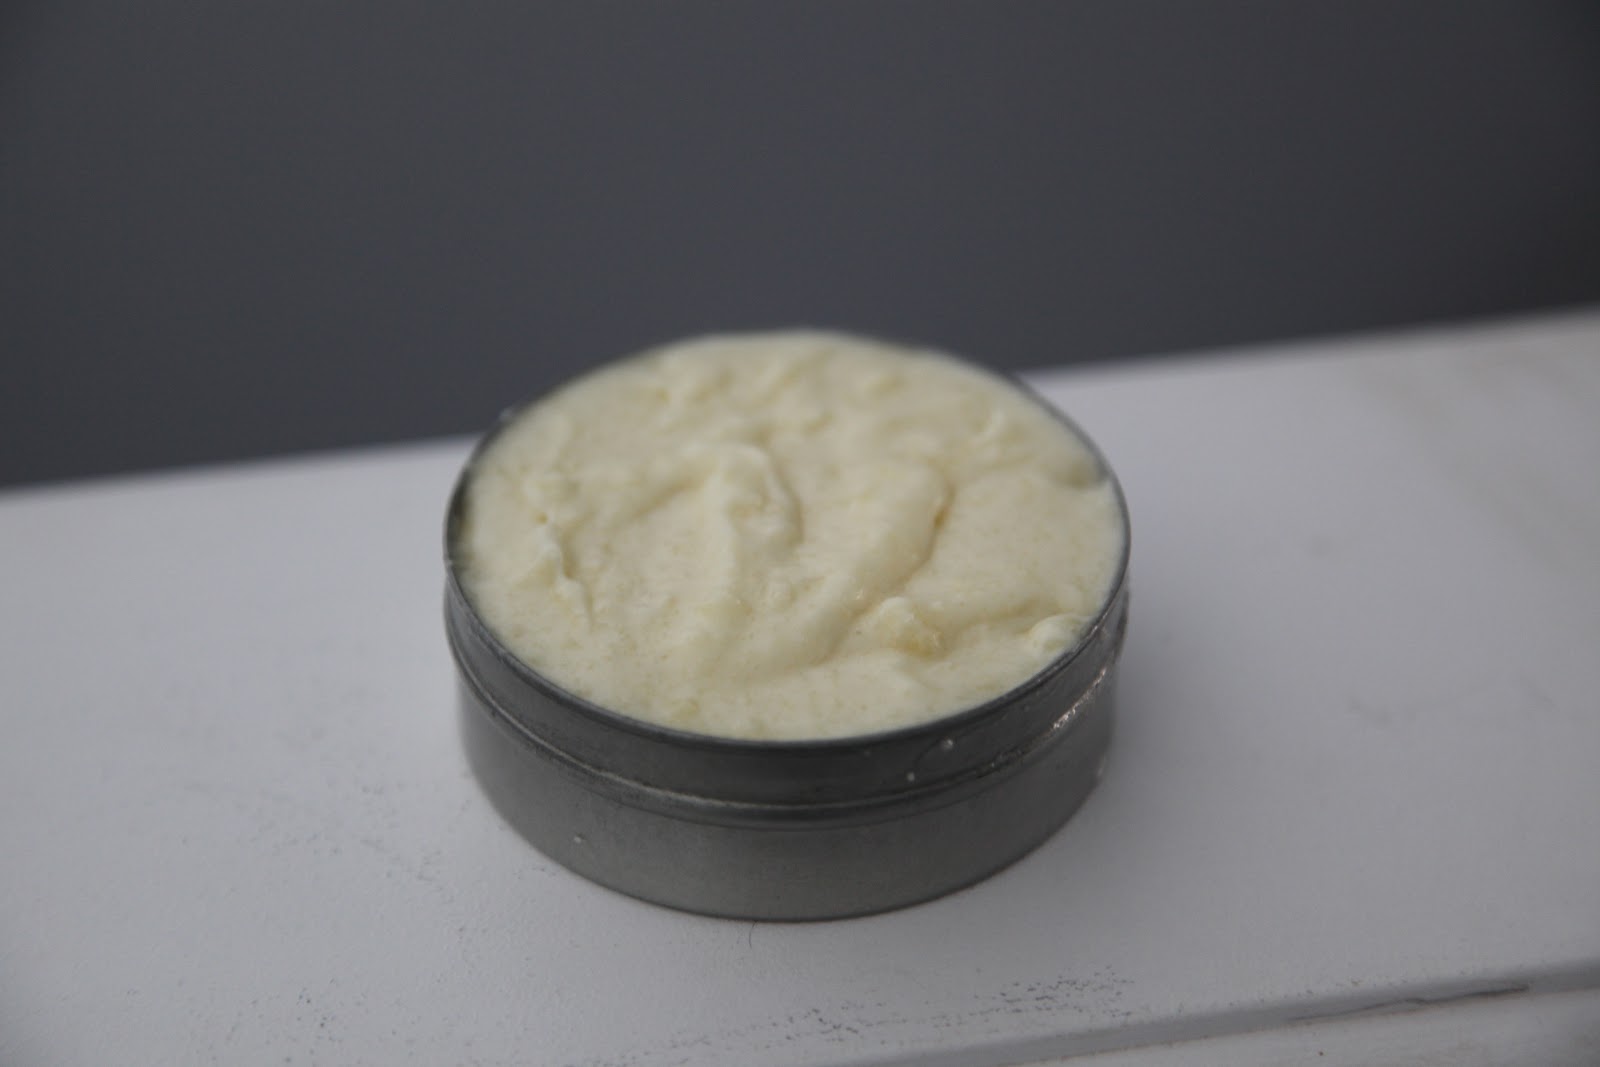
Mash the shea butter with a fork in a mixing bowl. Add the coconut oil and mix with the fork. Beat well with a hand mixer for a few minutes until fluffy and well combined. Add essential oils and beat another minute or two. Put in a 4 oz. jar. Again use clean hands when appling to avoid contamination of your lotion.

Homemade Shea Butter Hand Lotion

A current interest in mine lately is to learn more about and use essential oils. I am also purging my house from commercial body care products. These two things combined have lead to me making some wonderful hand lotion that leaves your skin moisturized, aids in relieving joint discomfort , and smells so good. Of course you can change up the essential oils to suit your preference of scent or according to healing properties. I was looking for joint pain relief and chose to use peppermint and lavender for their anti-inflammatory properties. Plus I absolutely love the smell of peppermint. I have read that bugs don't like peppermint or lavender for that matter!

I found the recipe here

4 oz. unrefined shea butter (I used raw organic shea butter)
2 tablespoon base oil; I used sweet almond oil. (Extra virgin olive oil, coconut oil or others can be used as well)
10-25 drops essential oil(s); optional, I used 20 drops peppermint and 5 drops lavender
mixing bowl
electric whisks mixer
one clean empty 8 oz. jar, or two 4 oz. jars, because volume will be increased

Steps for making whipped cream:

Before you start to prepare whipped shea butter, make sure your unrefined shea butter is on a room temperature. Do not melt or heat it! Put your shea butter in a bowl and mash it with a fork. The same way you make a mashed potato. Add base oil(s) and mash it little bit more. Put the mixture into the mixing bowl. Mix it on a high speed with electric mixer for approximately 5 minutes. Believe it or not, this is it! Optionally, you can add chosen essential oil(s) and mix it few minutes to blend it with your whipped cream. Put whipped cream in a clean jar(s) and close it. Keep it in a dry, dark and cool place. Room temperature is fine. Remember to always have clean hands when touching the cream in the jar. There are no preservatives other than the essential oils to prevent contamination of germs and bacteria in the lotion.

I love this stuff! It can be a little grainy from the raw shea butter, but it is easily worked into the hands. This cream does not leave your skin feeling oily once it's absorbed into the skin. Remember, if you don't like a lot of scent then omit the essential oils or reduce the amount used. Be careful using citrus oils as they can increase your skin sensitivity to the sun!

Next on my to do list is make homemade bug repellent, since it's THAT season again in Manitoba! Here's a picture of the finished product.

Thursday, May 23, 2013

Homemade Dish Soap

I recently ran out of dish soap for hand washing my dishes. Since I have been trying to use all natural cleaning products and have fallen in love with using essential oils, I figured it was time to make my own dish soap. I found the recipe here

1 3/4 cup boiling water
1 tbsp. borax (go to the website to see their research on the safety of using borax)
1 tbsp. grated bar soap (I have been using a natural bar that contains rosemary and lavender)
15-20 drops essential oils (I use around 10 drops of lemon essential oil as my soap already has rosemary and lavender in it. The lemon smells so nice and helps clean the dishes!)

Heat water to boiling.
Combine borax and grated bar soap in a medium bowl. Pour hot water over the mixture. Whisk until the grated soap is completely melted.
Allow mixture to cool on the countertop for 6-8 hours, stirring occasionally. Dish soap will gel upon standing. (Although mine doesn't really gel)
Transfer to a squirt bottle, and add essential oils (if using). Shake well to combine.
Now you’re ready to use your liquid dish soap just as you would use any commercial brand!

Homemade Dishwasher Detergent

After much researching and compiling of recipes I finally decided to try making my own dishwasher detergent. I have avoided this in the past since our water is very hard and we don't always remember to buy softener salt. However this stuff works and is super easy to make! A key step in using this is to have white vinegar in the rinse aid compartment of the machine. I have been using vinegar for a long time and my dishes are always clear if my vinegar doesn't run out!

1 cup washing soda (not baking soda!)
1/4 cup citric acid
Tea Tree essential oil (optional but I highly recommend essential oils for an extra clean and scent)

Combine the washing soda and citric acid in a bowl. These do clump together so I recommend making tablets out of this recipe. I have also read of people using silicon packets from a vitamin bottle in an air tight container to prevent clumping/turning rock hard. To make tablets put 1 tbsp. of the mix into each part of an ice cube tray. I then added 2-3 drops of essential oil to each tablet. I lightly pressed the powder down and then let it sit for 24-48 hours until I could gently pop each tablet out. I then stored the tablets in an air tight container. If you would rather not make tablets, just use 1 tbsp. mix in your machine.

Friday, May 3, 2013

Homemade Nutella

I love the nutty chocolaty combination of Nutella. However since trying to maintain a mostly whole food and refined sugar free diet, I cringe at the label on the store bought stuff. I have now managed to make my own version of Nutella. Hope you enjoy it as much as I do!

2 cups roasted hazelnuts with skins removed (put on a baking pan and roast at 350 degrees for about 10-15 minutes until skins start to crack, then rub skins off when still warm)
2 tablespoons melted coconut oil
4 tablespoons cocoa
3 tablespoons coconut sugar
3 tablespoons maple syrup (this liquid helps improve the texture and helps the Nutella not to be too dry, and adds sweetness of course)
pinch of salt

Blend hazelnuts in a Vitamix or other strong blender/food processor until you have a nut butter. This makes about 1 1/2 cups of nut butter. Remove from blender and put into a mixing bowl. Add other ingredients and mix with a spoon until well blended. Store in an air tight container or jar. Makes about 2 cups.

Sunday, February 24, 2013

Homemade Coconut Yogurt

4 cups of coconut milk either from the store or homemade
1/4 cup tapioca flour or coconut flour
1 tbsp. maple syrup (the bacteria need something to eat)
live culture (starter powder or 2-3 tbsp. coconut yogurt) or 2 probiotic capsules

To make your own coconut milk put 4 cups of water in a Vitamix or other good blender, add 1 cup unsweetened shredded coconut. Blend for 2-3 minutes. It will separate if not used right away. Just stir or shake and it's not a problem. There may be some pulp, if you really don't want this you can strain it through cheesecloth but the pulp does make for a thicker yogurt. Plus you don't have extra clean up if you don't strain it!

Add flour to milk and heat in a pot on the stove to 160F, remove from heat and let cool to 110F, this will take 1.5-2 hours. once cooled add maple syrup and stir. Take 1/2 cup of milk and combine with live culture. Add this back into rest of milk. I use a glass jar to keep the milk in. I then put it in a warm 110F oven (if too warm it can kill the bacteria) and let it incubate for about 8 hours. The yogurt is not overly thick at this point. Put in the fridge and let it sit about 8 hours. It does thicken a little during this time. Homemade coconut milk does give a thinner yogurt than full fat canned milk. You could try making it in the crockpot like my other recipe here.

Gluten Free Quinoa Pancakes

about 3/4 cup cooked quinoa (I cooked mine in coconut milk but water is fine too)
1/4 cup coconut yogurt (I suppose you could use any soured milk or yogurt)
2 heaping tbsp. buckwheat flour
2 heaping tsp. white rice flour
2 tablespoons maple syrup,
1 egg or egg replacement equivalent
1 tsp. baking powder
1 tsp. baking soda
1/4 tsp. sea salt

Blend together in a Vitamix or other blender until well blended. Makes 4-5 pancakes. These pancakes really taste like real pancakes (ie: made with gluten) not gummy at all.