3/4 cup coconut oil
3/4 cup xylitol
3 eggs (room temperature, otherwise the coconut oil hardens into chunks due to the cold eggs)
2 tsp pure vanilla extract (no sugar)
1 cup gluten free flour mix ( I used 1/3 cup each tapioca starch, brown rice flour and sorghum flour)
3 cups rolled oats
1 tsp baking soda
1 tbsp cinnamon
1 cup unsweetened shredded coconut
1/2 cup hemp hearts (chopped nuts work too)
1 cup chocolate chips or dried fruit (optional - we did not add these and the cookies were still amazing without them)
Stir together coconut oil and xylitol. Add eggs and vanilla and beat until fluffy. Add flour, oats, baking soda and cinnamon. Stir until just combined. Add coconut, hemp hearts/nuts, and optional add ins. Stir until combined. Drop onto baking sheet with a tablespoon or medium scoop. Flatten cookies slightly. Bake at 350 degrees for about 12 minutes until cookies are firm and golden. Makes about 3.5 dozen cookies. These cookies even taste good the next day. I always find it a challenge to find a good gluten free cookie that still tastes good after it has sat for a day or two.
Cherry Crisp

Wednesday, January 21, 2015
Saturday, November 15, 2014
Grain Free Sugar Free Pumpkin Granola
1/4 cup chia seeds
1/4 cup hemp hearts
1/3 cup pumpkin seeds
1/2 cup chopped pecans
1/2 cup ground flax seed
3/4 cup sunflower seeds
3/4 cup almond flour
1 cup sliced almonds
1 1/2 cup unsweetened shredded coconut
3 tsp cinnamon
1/2 tsp nutmeg
1/2 tsp ginger
1/4 tsp ground cloves
1/4 tsp baking soda
1/4 tsp salt
1 cup pumpkin puree
1/2 cup melted coconut oil
1/3 cup xylitol Mix together all ingredients, until well combined. Bake at 275 degrees Fahrenheit for about 40 minutes, until granola is dry. Stir every 20 minutes.
Gluten Free Pumpkin Buttermilk Pancakes
3/4 cup brown rice flour
1/4 cup tapioca
3/4 cup almond flour
1/4 cup ground flax
1 egg
1 tsp baking powder
1 tsp baking soda
1/4 tsp salt
3/4 cup pumpkin puree
1 cup buttermilk
2 tbsp oil
1 tbsp sweetener (honey, sugar, or xylitol) Mix ingredients until well blended. Pour about 1/4 cup mixture onto a hot griddle. Cook a few minutes on each side. Gluten free pancakes tend to be more fragile than regular pancakes, so make sure that the first side is well cooked before flipping.
Thursday, September 25, 2014
Lime Salsa
We are still on a yeast free and sugar free diet. This means no vinegar is allowed, except for apple cider vinegar with the mother. We are not big fans of ACV, and so I made up a new salsa recipe that I could can and keep in my pantry. It is impossible to find a store bought salsa that is allowed for our diet. This is a great recipe. Even though it is canned, it still tastes like a fresh salsa because of the lime juice!
10 cups peeled and chopped tomatoes (I prefer Romas as they are more meaty and less juicy)
3 cups chopped onions
4 bell peppers chopped
3 jalapenos diced, removing about 1/2 the seeds
6 basket of fire hot peppers or any small hot peppers will work, diced and seeds included
1 scant tsp. cumin
1 tsp. chili powder
3 tsp. garlic powder
16.5 oz tomato paste
1.5 cups fresh lime juice (about 8 large limes)
2 tsp. pickling salt Mix all of these together. Simmer for about 30 minutes or longer depending on how much liquid you want in your salsa. Put into hot sterilized jars, and put on hot sterilized lids. Put hot jars into boiling water in a water bath canner. Process for 15 minutes, makes about 8 pints.
Friday, August 15, 2014
Gluten, Dairy and Sugar Free Zucchini Cobbler
We were given some HUGE zucchinis from my sister, and I really wanted to make my zucchini cobbler recipe but knew that it needed to be modified first. It was a success, and we enjoyed a yummy dessert this evening.
5 cups peeled, cored and chopped zucchini
1/3 cup lemon juice
1/4 cup water
1/3 heaping cup xylitol
1/2 tsp. cinnamon
1/4 tsp. nutmeg
1 cup oats (gluten free oats if needed)
1 cup almond flour
1/2 cup unsweetened coconut flakes
1/2 cup melted coconut oil
1 heaping tbsp. xylitol
1/2 tsp. cinnamon
In a large saucepan over medium heat, cook and stir zucchini, water and lemon juice until zucchini is tender, 15 to 20 minutes. Stir in 1/3 cup xylitol, 1/2 teaspoon cinnamon and nutmeg and cook one minute more. Remove from heat and set aside. Preheat oven to 375 degrees F (190 degrees C). Grease a 8x10 inch baking dish. Pour zucchini mixture into pan. I a bowl combine last 6 ingredients well, spread topping mixture on top of zucchini. Bake about 30 minutes until top is golden brown. Serve warm or cold. This tastes like apple pie and a great way to use up extra zucchini!
Note: The topping used in this recipe is also really good with fresh or frozen strawberries and rhubarb instead of the zucchini, and most likely other fruit as well!
Thursday, June 12, 2014
Paleo Rhubarb Coconut Cookies
One of our favourite spring baking combinations is rhubarb and coconut. Since we can't eat my other cookie recipe here due to dietary restrictions, I have created a new awesome grain, sugar and dairy free cookie! This recipe is based on this one here but I changed it since we can't have chocolate chips.
1/2 cup coconut oil (butter if you can have dairy), room temp
1/2 cup xylitol, powdered
2 free range eggs
3 cups almond flour
1 tsp pure vanilla extract or 1/2 tsp ground vanilla beans
1/2 tsp baking soda
1/4 tsp sea salt
1 cup shredded unsweetened coconut
3/4 cup diced rhubarb Cream xylitol and coconut oil, beat in eggs and vanilla. Add dry ingredients and mix well. Add rhubarb and coconut, stir to combine. Spoon about a tbsp of dough onto the cookie pan (I use a small scoop to get uniform cookies), slightly flatten with your fingers. Bake at 350F for about 15 minutes.
Thursday, April 10, 2014
Hawaiian Pulled Pork (Sugar Free)
I was in search of a pulled pork recipe that could fit my restricted diet. The original recipe was found here. I of course had to do some tweaking to make it sugar free and all whole foods, no processed ingredients. We all enjoyed this one, and it was so easy to make.
2.5 lbs pork butt, cut into 2 inch pieces
1 medium onion, finely chopped
2 cloves garlic minced
1/2 cup sugar free ketchup
1/6 cup cider vinegar
1/6 cup water
15 drops liquid stevia
1/4 cup tomato paste
1 tbsp sweet paprika
1 tsp red pepper flakes
2 tbsp coconut aminos
1 15oz can Pineapple, including juice
3 tsp salt
2 tsp black pepper
Cut the pork butt into 2 inch pieces. Transfer to a slow cooker. Add the remaining ingredients on top of the pork butt and cover with the lid. This can be done the night before like I did or the morning you want to cook it. Set on low heat and cook for 8 hours until the pork is falling apart. Using 2 forks, shred the pork while still in the slow cooker and then let it soak up the remaining juice. Serve the Hawaiian Pulled Pork on a bun for a sandwich or on leafy greens if you can't have gluten and yeast like me.
Saturday, March 8, 2014
Paleo Broccoli and Cauliflower Casserole
I found this yummy casserole recipe here.
Of course I changed a few minor details to suit our needs.
5 cups broccoli florets
3 cups cauliflower florets
1 shallot minced
5 cloves of garlic minced
1 can coconut milk
4 eggs
Salt and pepper to taste Combine vegetables in a 9x13 casserole dish. In a small bowl whisk together milk, eggs, salt and pepper. Pour milk mixture over the veggies. Sprinkle sunflower seeds on top if you want some added crunch. I'm sure slivered almonds would be yummy too. Bake at 350 degrees for about 45 minutes. It kind of tastes like a quiche without cheese. A great way to serve creamy veggies without the dairy!
Saturday, March 1, 2014
Dairy Free Cashew Alfredo Sauce
I can't remember where I found this original recipe on the Internet, but it is an amazing dairy free replacement for Alfredo sauce!
1 cup coconut milk canned or homemade
1/4 cup raw cashews
2 cloves garlic
1 tsp. dried basil
salt and pepper to taste Blend all ingredients in a blender. I use my Vitamix and I don't know how smooth a less powerful blender will make it. To keep the sauce raw, just pour over noodles and meat and serve. I like to heat mine up a little with some cooked chicken and serve over pasta or zucchini noodles.
Thursday, January 23, 2014
Chocolate and sugar free "Hot Chocolate"
I am currently on some heavy diet restrictions due to medications that I am on. Last night I had a craving for hot chocolate and I managed to create a yummy substitute!
1 1/2 cups milk of your choice (I used homemade coconut milk)
1 tbsp. carob powder
1 scant tbsp. xylitol
1/2 tsp vanilla extract or 1/4 tsp ground vanilla beans
Put all ingredients in a small pot and heat on stove with medium heat. Serve warm. It's not quite the same as chocolate but still really yummy!
1 tbsp. carob powder
1 scant tbsp. xylitol
1/2 tsp vanilla extract or 1/4 tsp ground vanilla beans
Put all ingredients in a small pot and heat on stove with medium heat. Serve warm. It's not quite the same as chocolate but still really yummy!
Friday, September 13, 2013
Paleo Chunky Monkey Cake
I originally found this recipe here although the recipe was for cookies, not cake. I decided to tweak the recipe and turn the batter into a cake instead. My husband couldn't believe that it didn't contain any grains, it had the texture of cake made with wheat, and was moist and fluffy!
 1 cup sunflower butter or other nut or seed butter (I used my homemade sunflower-coconut butter)
1/4 cup honey
1 1/2 ripe bananas, mashed
1 egg
3 tbsp my homemade Nutella or any chocolate nut spread
1 tsp vanilla
2 tbsp tapioca starch
1 tbsp cinnamon
1/2 tsp baking powder
1/2 tsp baking soda
1/2 tsp sea salt
1/2 cup chopped pecans Heat oven to 350 degrees. Mix together all ingredients except pecans, until well mixed. Stir in nuts. Pour batter into a greased 9x9 pan. Bake about 25-30 minutes, until done. *Note* The Nutella recipe does use coconut sugar and maple syrup but could be adapted to use honey if desired to stay away from all sugar.
*Note* The banana can be changed to any fruit or veggie that is good in baked goods. I have made this recipe with shredded zucchini (1/2 cup or more if desired). I think pumpkin, apple sauce or grated carrots would also work nicely. I have also made this nut free by replacing the Nutella with extra sunflower butter and 1 tbsp cocoa powder! I love this very versatile recipe!
 1 cup sunflower butter or other nut or seed butter (I used my homemade sunflower-coconut butter)
 1/4 cup honey
1 1/2 ripe bananas, mashed
1 egg
3 tbsp my homemade Nutella or any chocolate nut spread
1 tsp vanilla
2 tbsp tapioca starch
1 tbsp cinnamon
1/2 tsp baking powder
1/2 tsp baking soda
1/2 tsp sea salt
1/2 cup chopped pecans Heat oven to 350 degrees. Mix together all ingredients except pecans, until well mixed. Stir in nuts. Pour batter into a greased 9x9 pan. Bake about 25-30 minutes, until done. *Note* The Nutella recipe does use coconut sugar and maple syrup but could be adapted to use honey if desired to stay away from all sugar.
*Note* The banana can be changed to any fruit or veggie that is good in baked goods. I have made this recipe with shredded zucchini (1/2 cup or more if desired). I think pumpkin, apple sauce or grated carrots would also work nicely. I have also made this nut free by replacing the Nutella with extra sunflower butter and 1 tbsp cocoa powder! I love this very versatile recipe!
Friday, September 6, 2013
Canned Tomato Sauce
3 ice cream pails of tomatoes
2 1/2 lbs onions
2 green peppers
1 or 2 red peppers
2 medium zucchini (optional)
1/2 cup pickling salt
1 cup sugar
3 tsp garlic powder
2 tbsp oregano
2 tbsp parsley flakes
2 tbsp basil
4 bay leaves
36 oz tomato paste Blend tomatoes in a blender (saves you from peeling all the tomatoes). Add diced or blended onions, zucchini and peppers (depending if you want chunks in your sauce). Add rest of the ingredients. Simmer for one hour. To sterilise jars, place in a cold oven. Turn oven on to 225 F, heat jars for 20 minutes once oven is at correct temperature. Put sauce in hot jars and place in water bath canner. Can the pint jars for 35 minutes and quarts for 40 minutes. Times may change depending on altitude. Take out of canner and let cool. Lids will make a popping sound when they seal and will be concave in the middle. Makes 9 quart jars.
Tuesday, July 23, 2013
Sourdough Bacon and Cheese Muffins
Sourdough is a great way to make your wheat baking healthier and easier for your body to digest. All it takes is a little more planning ahead to make this delicious recipe! See this post for more info on sourdough muffins.
1 C “discarded” sourdough starter
1 C whole wheat flour
1 egg
1/4 tsp salt
1/4 C melted coconut oil or melted butter
1 tsp baking soda
1/4 cup sugar
1/2 cup grated cheddar cheese
1/2 cup real bacon bits or crumbled fried bacon
In a stand mixer, combine sourdough starter and whole wheat flour. I added a little water to this in order to mix the flour and starter together. Without the water it was too dry and crumbly.
Once the two are thoroughly combined, cover the dough with plastic wrap ensuring that none of it is exposed to the air.
Let sit at room temperature for at least seven hours. The longer it sits the more tangy it will become, 7 hours seems a good amount of time.
The dough will rise some while it sits.
If any of it has gotten exposed to the air and gotten dry, just remove those bits so you don’t have little dough nuggets in your final product.
When you’re ready to bake, preheat the oven to 400 degrees.
Prepare a muffin pan with papers or grease the cups.
In a separate bowl, mix together all other ingredients except for cheese and bacon. Add those ingredients to the dough in the mixer’s bowl and mix together.
Fold in cheese and bacon and scoop batter into prepared muffin pan.
Bake for 20 min. Makes about 12 muffins.
Gluten Free Bacon and Cheese Muffins
I found the original recipe here and of course tweaked it to fit my taste and what I had in the pantry!
1/2 cup grated tasty cheese
1/2 cup real bacon bits or sliced fried bacon
3/4 cup rice flour
1/2 cup sorghum flour
1/4 cup potato starch (tapioca or arrowroot would also work)
2 teaspoons baking powder
1 teaspoon salt
1 tablespoon sugar (I used maple sugar)
1/2 teaspoon bacon topper seasoning from Epicure (optional)
1 egg (I used 1 tbsp ground flax and 4 tbsp water to make a flax "egg" and it worked quite nicely)
1 cup milk
Beat egg and milk together very well.
Mix all dry ingredients and cheese together.
Add wet ingredients to dry ones.
Don't overmix. Bake at 400 degrees for about 20 minutes.
Saturday, July 13, 2013
Aloe Lemonade
Since dealing with health issues lately, I have been on a search for ways to detox my body from toxins and build up my immune system. I have come across a super food that is suppose to aid with these things: aloe vera juice! Add it with lemon juice (which also aids with detoxification and we have a winning combination). I have read that you should start slow with aloe as your body needs to get used to it. I think this is a good way to do it. I am no expert on aloe but am always looking for ways to be healthy. Just make sure you are using organic pure aloe. Not the green stuff that is sold in most stores that is not pure and has been processed.
3 cups cold water
1/2 cup lemon juice
2 oz aloe vera juice
stevia to taste (you may need to blend this in a blender if using powdered stevia)
I like my lemonade tart so I only used a few pinches of dried stevia, but experiment with what you like. You can use sugar if you want, but I am trying to eliminate sugar from my diet.
Friday, June 21, 2013
Berry chocolaty smoothie
1 cup coconut water or your choice of milk
1 tbsp. Nut or seed butter (I used a sunflower and coconut butter)
3 dates
1 tbsp. Chia seeds
1 tbsp. Hemp Hearts
1 tbsp. Cocoa powder
1/2 cup frozen strawberry and mango fruit mix
1/2 cup fresh spinach or kale Toss all ingredients into a blender and blend until smooth and creamy.
1 tbsp. Nut or seed butter (I used a sunflower and coconut butter)
3 dates
1 tbsp. Chia seeds
1 tbsp. Hemp Hearts
1 tbsp. Cocoa powder
1/2 cup frozen strawberry and mango fruit mix
1/2 cup fresh spinach or kale Toss all ingredients into a blender and blend until smooth and creamy.
Monday, June 3, 2013
Homemade Acne Face Cream
This is adapted from my hand lotion recipe but using ingredients to help combat the dreaded acne problem. I will wash my face at bedtime using water and a Norwex makeup removal cloth. No soap needed. I will then massage my face cream into my face and neck area. This leaves my skin so soft and does seem to help the breakouts as long as I stay away from my other nemesis - sugar!
 4 Tablespoons raw organic shea butter
1 1/4 Tablespoons organic coconut oil (also has some antibacterial, antifungal and antimicrobial properties)
5 drops geranium essential oil - good for soothing inflammation and scar healing
14 drops tea tree oil - good for combating the acne infection and cleansing
5 drops lavender - good for the inflammation Mash the shea butter with a fork in a mixing bowl. Add the coconut oil and mix with the fork. Beat well with a hand mixer for a few minutes until fluffy and well combined. Add essential oils and beat another minute or two. Put in a 4 oz. jar. Again use clean hands when appling to avoid contamination of your lotion.
 4 Tablespoons raw organic shea butter
 1 1/4 Tablespoons organic coconut oil (also has some antibacterial, antifungal and antimicrobial properties)
5 drops geranium essential oil - good for soothing inflammation and scar healing
14 drops tea tree oil - good for combating the acne infection and cleansing
5 drops lavender - good for the inflammation Mash the shea butter with a fork in a mixing bowl. Add the coconut oil and mix with the fork. Beat well with a hand mixer for a few minutes until fluffy and well combined. Add essential oils and beat another minute or two. Put in a 4 oz. jar. Again use clean hands when appling to avoid contamination of your lotion.
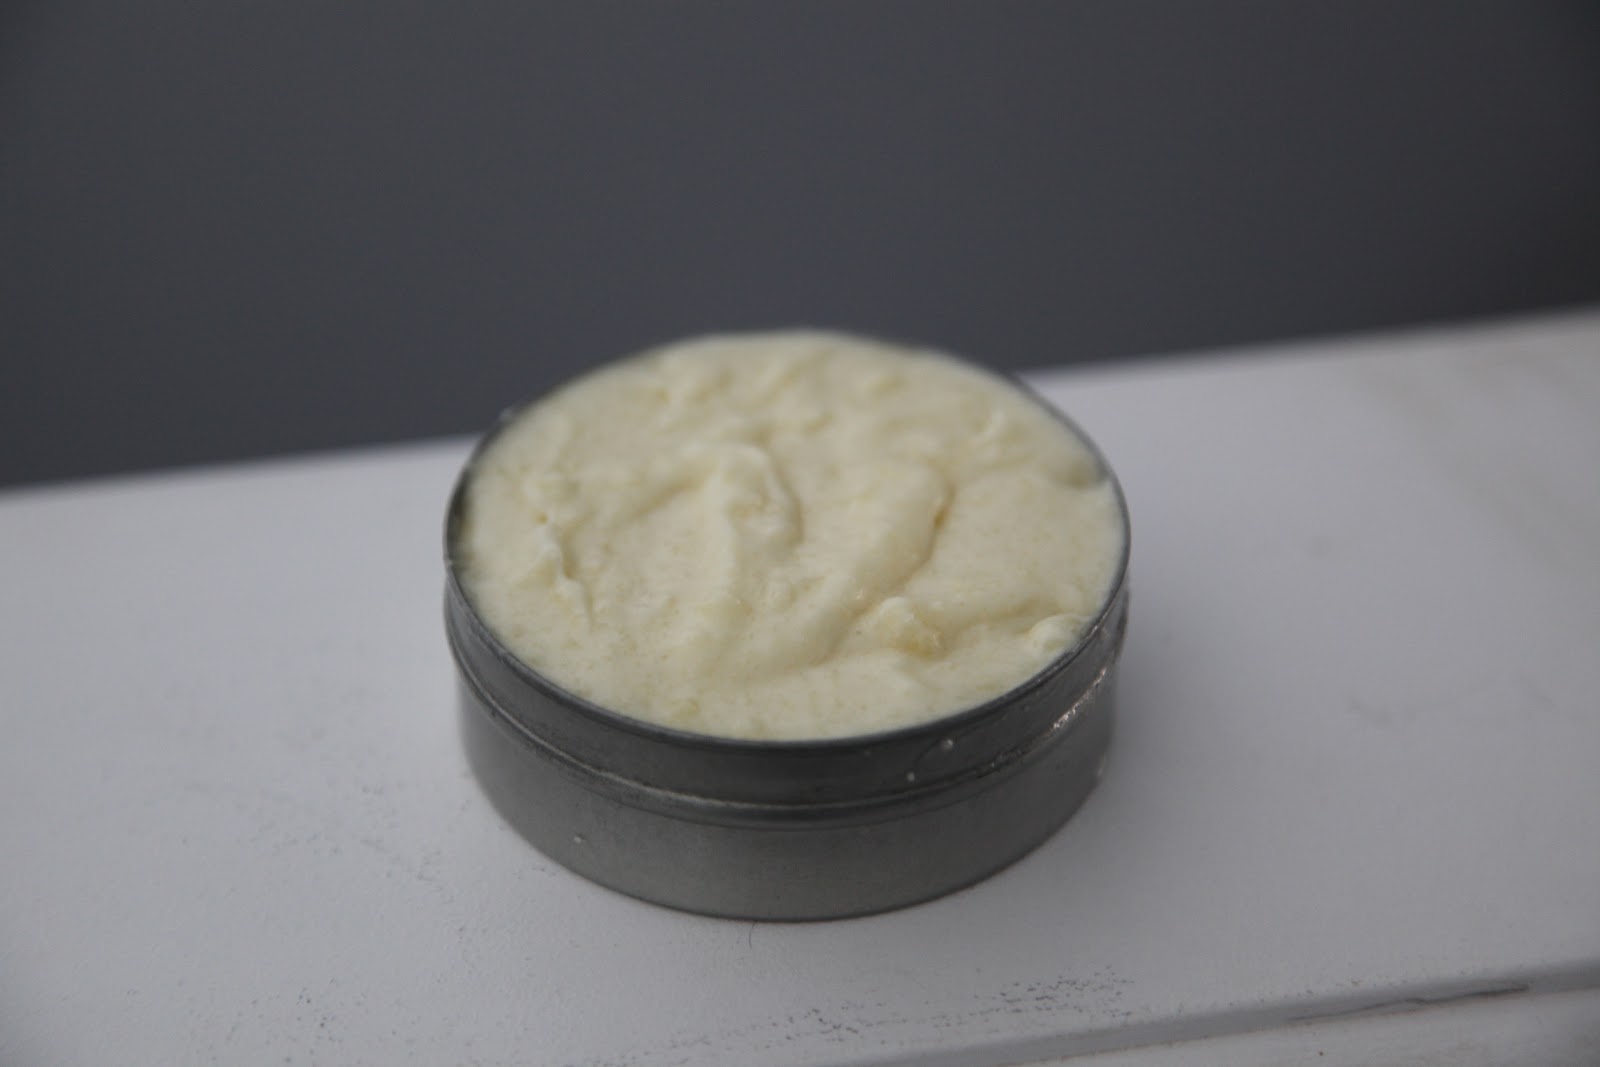
Homemade Shea Butter Hand Lotion
A current interest in mine lately is to learn more about and use essential oils. I am also purging my house from commercial body care products. These two things combined have lead to me making some wonderful hand lotion that leaves your skin moisturized, aids in relieving joint discomfort , and smells so good. Of course you can change up the essential oils to suit your preference of scent or according to healing properties. I was looking for joint pain relief and chose to use peppermint and lavender for their anti-inflammatory properties. Plus I absolutely love the smell of peppermint. I have read that bugs don't like peppermint or lavender for that matter!
 I found the recipe here
4 oz. unrefined shea butter (I used raw organic shea butter)
I found the recipe here
4 oz. unrefined shea butter (I used raw organic shea butter)
2 tablespoon base oil; I used sweet almond oil. (Extra virgin olive oil, coconut oil or others can be used as well)
10-25 drops essential oil(s); optional, I used 20 drops peppermint and 5 drops lavender
mixing bowl
electric whisks mixer
one clean empty 8 oz. jar, or two 4 oz. jars, because volume will be increased Steps for making whipped cream: Before you start to prepare whipped shea butter, make sure your unrefined shea butter is on a room temperature. Do not melt or heat it! Put your shea butter in a bowl and mash it with a fork. The same way you make a mashed potato. Add base oil(s) and mash it little bit more. Put the mixture into the mixing bowl. Mix it on a high speed with electric mixer for approximately 5 minutes. Believe it or not, this is it! Optionally, you can add chosen essential oil(s) and mix it few minutes to blend it with your whipped cream. Put whipped cream in a clean jar(s) and close it. Keep it in a dry, dark and cool place. Room temperature is fine. Remember to always have clean hands when touching the cream in the jar. There are no preservatives other than the essential oils to prevent contamination of germs and bacteria in the lotion. I love this stuff! It can be a little grainy from the raw shea butter, but it is easily worked into the hands. This cream does not leave your skin feeling oily once it's absorbed into the skin. Remember, if you don't like a lot of scent then omit the essential oils or reduce the amount used. Be careful using citrus oils as they can increase your skin sensitivity to the sun! Next on my to do list is make homemade bug repellent, since it's THAT season again in Manitoba! Here's a picture of the finished product.
 I found the recipe here
4 oz. unrefined shea butter (I used raw organic shea butter)
I found the recipe here
4 oz. unrefined shea butter (I used raw organic shea butter) 2 tablespoon base oil; I used sweet almond oil. (Extra virgin olive oil, coconut oil or others can be used as well)
10-25 drops essential oil(s); optional, I used 20 drops peppermint and 5 drops lavender
mixing bowl
electric whisks mixer
one clean empty 8 oz. jar, or two 4 oz. jars, because volume will be increased Steps for making whipped cream: Before you start to prepare whipped shea butter, make sure your unrefined shea butter is on a room temperature. Do not melt or heat it! Put your shea butter in a bowl and mash it with a fork. The same way you make a mashed potato. Add base oil(s) and mash it little bit more. Put the mixture into the mixing bowl. Mix it on a high speed with electric mixer for approximately 5 minutes. Believe it or not, this is it! Optionally, you can add chosen essential oil(s) and mix it few minutes to blend it with your whipped cream. Put whipped cream in a clean jar(s) and close it. Keep it in a dry, dark and cool place. Room temperature is fine. Remember to always have clean hands when touching the cream in the jar. There are no preservatives other than the essential oils to prevent contamination of germs and bacteria in the lotion. I love this stuff! It can be a little grainy from the raw shea butter, but it is easily worked into the hands. This cream does not leave your skin feeling oily once it's absorbed into the skin. Remember, if you don't like a lot of scent then omit the essential oils or reduce the amount used. Be careful using citrus oils as they can increase your skin sensitivity to the sun! Next on my to do list is make homemade bug repellent, since it's THAT season again in Manitoba! Here's a picture of the finished product.

Thursday, May 23, 2013
Homemade Dish Soap
I recently ran out of dish soap for hand washing my dishes. Since I have been trying to use all natural cleaning products and have fallen in love with using essential oils, I figured it was time to make my own dish soap. I found the recipe here
1 3/4 cup boiling water
1 tbsp. borax (go to the website to see their research on the safety of using borax)
1 tbsp. grated bar soap (I have been using a natural bar that contains rosemary and lavender)
15-20 drops essential oils (I use around 10 drops of lemon essential oil as my soap already has rosemary and lavender in it. The lemon smells so nice and helps clean the dishes!) Heat water to boiling.
Combine borax and grated bar soap in a medium bowl. Pour hot water over the mixture. Whisk until the grated soap is completely melted.
Allow mixture to cool on the countertop for 6-8 hours, stirring occasionally. Dish soap will gel upon standing. (Although mine doesn't really gel)
Transfer to a squirt bottle, and add essential oils (if using). Shake well to combine.
Now you’re ready to use your liquid dish soap just as you would use any commercial brand!
Homemade Dishwasher Detergent
After much researching and compiling of recipes I finally decided to try making my own dishwasher detergent. I have avoided this in the past since our water is very hard and we don't always remember to buy softener salt. However this stuff works and is super easy to make! A key step in using this is to have white vinegar in the rinse aid compartment of the machine. I have been using vinegar for a long time and my dishes are always clear if my vinegar doesn't run out!
1 cup washing soda (not baking soda!)
1/4 cup citric acid
Tea Tree essential oil (optional but I highly recommend essential oils for an extra clean and scent) Combine the washing soda and citric acid in a bowl. These do clump together so I recommend making tablets out of this recipe. I have also read of people using silicon packets from a vitamin bottle in an air tight container to prevent clumping/turning rock hard. To make tablets put 1 tbsp. of the mix into each part of an ice cube tray. I then added 2-3 drops of essential oil to each tablet. I lightly pressed the powder down and then let it sit for 24-48 hours until I could gently pop each tablet out. I then stored the tablets in an air tight container. If you would rather not make tablets, just use 1 tbsp. mix in your machine.
Subscribe to:
Comments (Atom)